Create an Office 365 Outbound Connector in Azure
Source: support.titanhq.com Product: PhishTitan Imported content type: docs_page Product stream: email-security
Create an Office 365 Outbound Connector in Azure
Section titled “Create an Office 365 Outbound Connector in Azure”Email Security customers using SpamTitan to send outbound mail must follow the steps below to configure an Office 365 outbound connector in Azure before completing their Email Security configuration. This connector allows outbound SpamTitan mail to pass through the Email Security service.
-
Log into the Exchange Admin Center.
-
In the sidebar menu, go to Mail flow → Connectors.
-
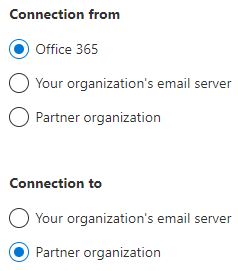
Click Add a connector and select the fields as shown:
-
Click Next . The Connector name window displays.
-
In the Name field, give the connector a meaningful name, for example, SpamTitan Outbound to Email Security.
-
In the Description field, enter an optional description for this connector, for example, Allow Email Security to receive SpamTitan outbound mail..
-
Enable Turn it on.
-
Click Next.
-
-
In the Use of connector window:
-
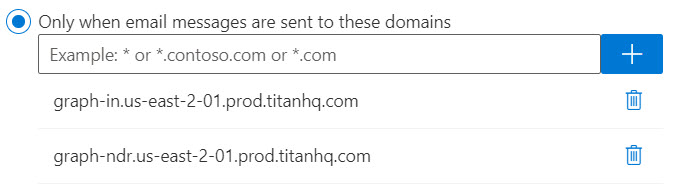
Select Only when email messages are sent to these domains.
-
Enter graph-in.us-east-2-01.prod.titanhq.com in the dialog box, and click +.
-
Enter graph-ndr.us-east-2-01.prod.titanhq.com in the dialog box, and click +.
-
Click Next.
-
-
In the Routing window:
-
Select Use the MX record associated with the partner’s domain.
-
Click Next.
-
-
Click Next on the Security restrictions window to accept the default TLS settings.
-
In the Validation email window:
-
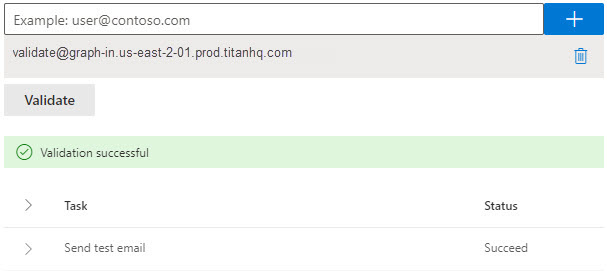
Enter validate@graph-in.us-east-2-01.prod.titanhq.com in the dialog box, and click +.
-
Click Validate. A test email will be sent to the email address above. A validation success message displays once validated:
-
Click Next.
-
-
Verify the information is correct, then click Next.